Installing DNA - Operating System
Installing DNA - Operating System
Install DNA - Part 2 of 2
Let’s install the DNA Appliance.
In the previous article, you installed the DNA Appliance hardware, and cabled it up. You either chose to manufacture DNA appliance on bootable media/usb, or your box is preloaded with the software ready to begin installation. Please don’t make my mistake, and make sure you plan here, or the installation step can take a lot more troubleshooting of vlans and trunks than it should.
Before you Install
- Reviewed the install Guides
- Configured the UCS server VNIC you are on to be in access mode(or trunk as the install guide says) and set the default VLAN you will be using on CIMC VNIC.
- Your switch port connecting to the Enterprise Access Port should be in trunk mode, pruned to the vlan you expect to receive. The VNIC will send traffic tagged on that vlan, regardless if you selected access or trunk mode, if you put a vlan on it, it will send it.
- Configure your SVI for the Access NIC.
- Do not configure an SVI for the Intra Cluster Link. It needs to be isolated.
| Linux Name | Installer Name | Speed | Purpose | Switch Mode | Required? |
|---|---|---|---|---|---|
| enp9s0 | Network Adapter #4 | 10GB SFP | Access/VIP/Server Network | trunk | Yes |
| enp10s0 | Network Adapter #1 | 10GB SFP | Intra Cluster Link | access | Only if you have more than 1 node |
| enp1s0f0 | Network Adapter #2 | 1GB RJ45 | OOB Application Mgmt | access | No |
| enp1s0f1 | Network Adapter #3 | 1GB RJ45 | Cloud Connectivity | access | No |
| CIMC Port | (not in installer) | 1GB RJ45 | OOB Chassis Mgmt | access | Yes |
Installer - Next, Next
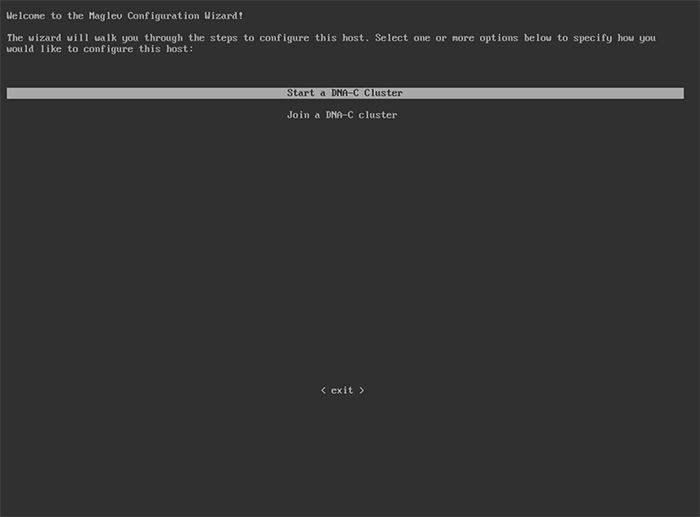
Step 1
I like to use CIMC to install, and I’m assuming you’ve got console either in person or CIMC.
The first screen is either start a new cluster or join an existing. Pretty easy.
Step 2 - NIC Addresses
The next wizard is a 4 part screen.
Use the table above to save sanity.
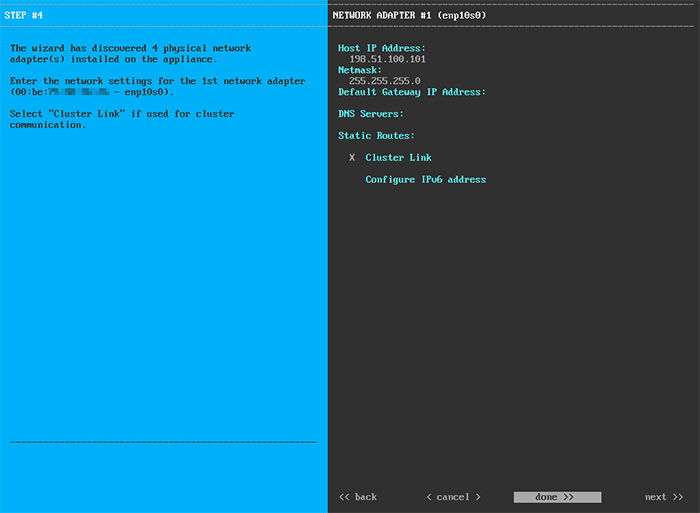
NICs 1-4
- The first port is your cluster, leave it blank if your just installing 1 node. If you configure, you CANNOT change it later. If you think you might want a cluster, I would recommend planning your entire cluster addressing out during the install.
- Second, it’s your OOB Management. You can still manage the appliance from the access port, this is just another method.
- Third, it’s your Cloud Connectivity port. Only use it if access port (which we haven’t even configured yet) will not have internet access.
- Last, we configure the access port. This is the primary means DNA will interact with your network, and for many customers, the internet, and management also.
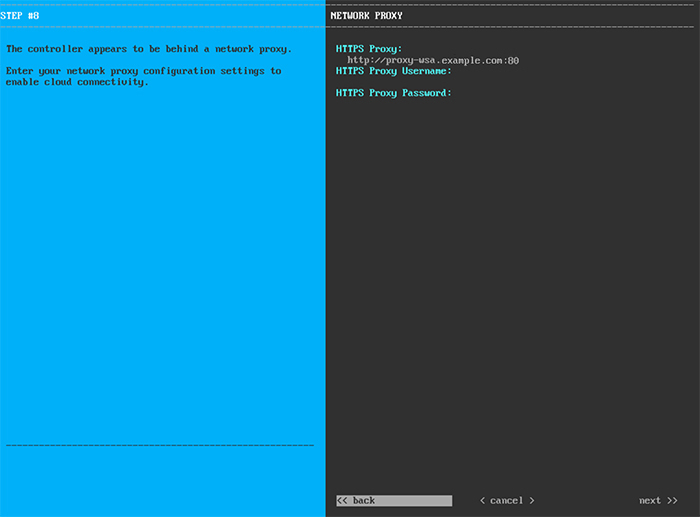
Step 3 - Proxy
If you need it, set it.
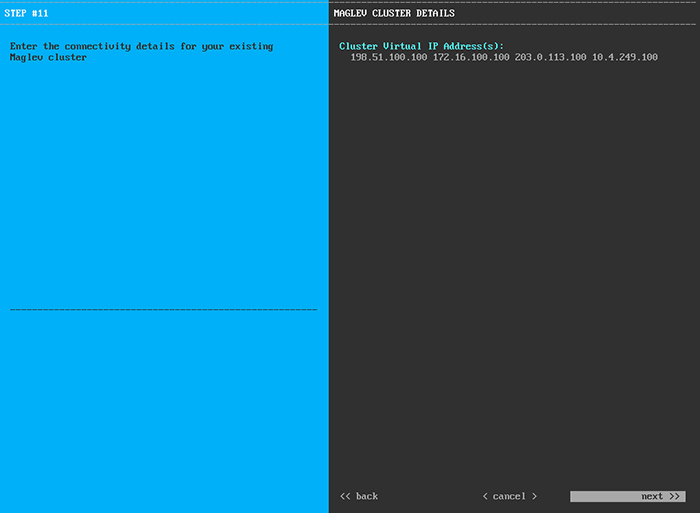
Step 4 - Cluster Virtual IPs
The trick here is that every NIC needs a virtul IP, space between.
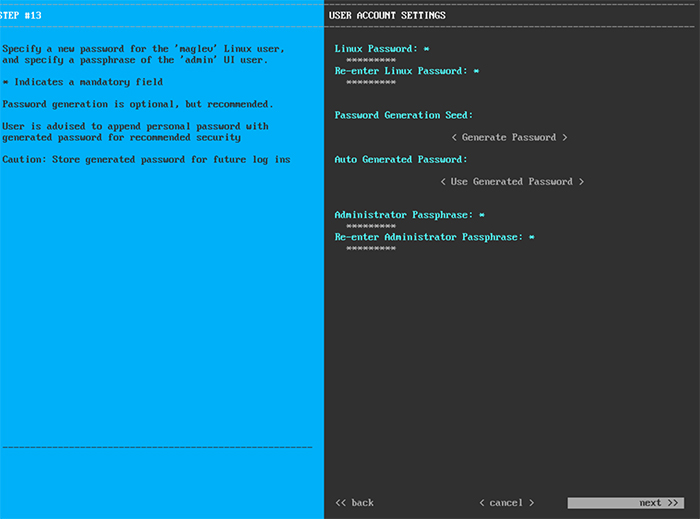
Step 5 - Passwords
Linux password is the linux shell. Adminstrator Passphrase will be the one time key for DNAC first login, then you will change your password.
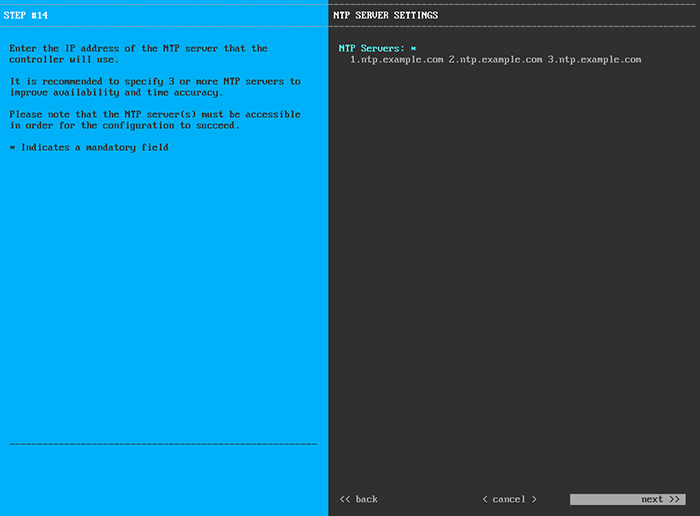
Step 6 - NTP
NTP…
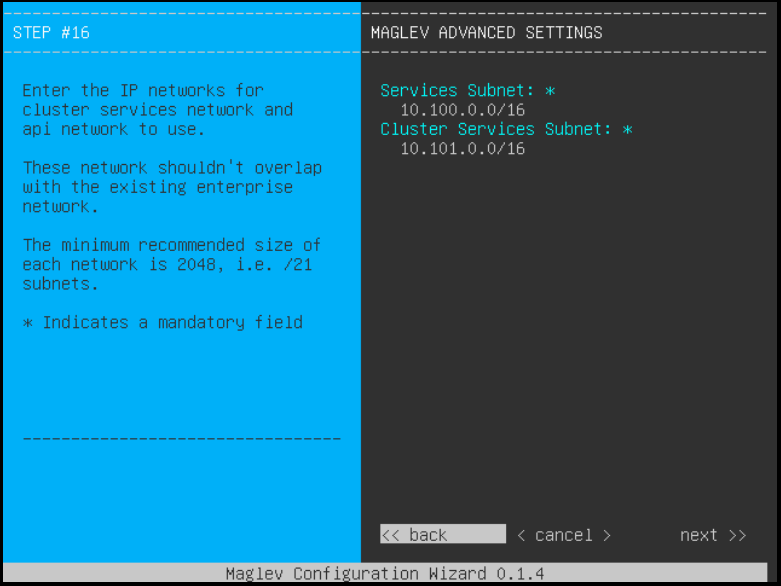
Step 7 - Cluster Services IPs
Strange, this is not in the documented install guide on 1.2.x. But if you run into it, here’s what it looks like, and the recommended subnets Cisco recommended in 1.1.x.
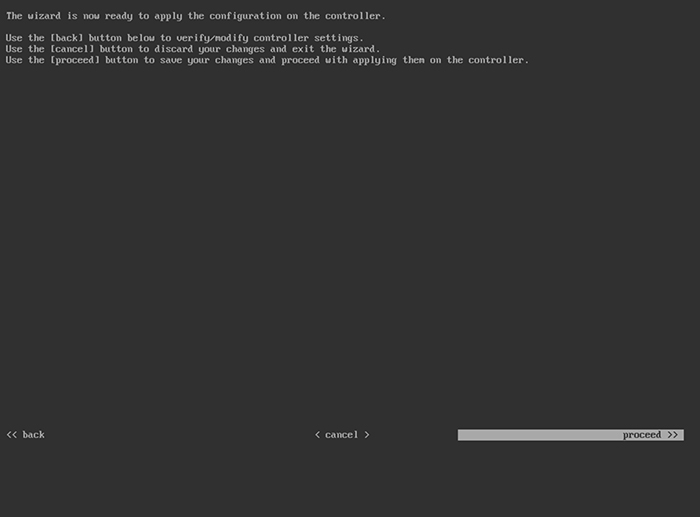
Step 8 - Last Chance to change anything
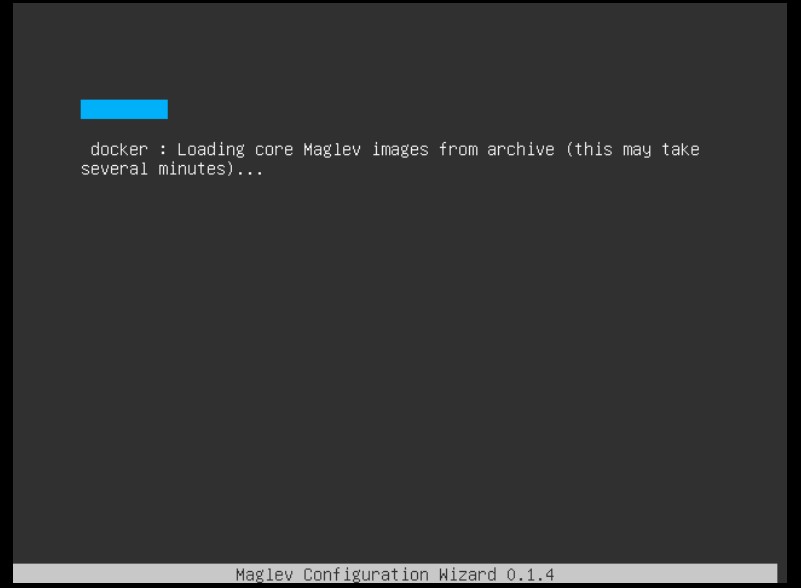
Step 9 - Installing
This process will take one or two reboots, and average about 3 hours. Do not get impatient like I did, you will have to learn how to wipe the box clean. The manual says “At the end of the configuration process, the appliance power-cycles again, then displays a CONFIGURATION SUCCEEDED! message.” I think that happens in a matter of minutes. It is not done. It will sit at a shell for a long long time. It’s downloading packages and installing Kubernetes. You can try to login to the shell to check the status, but wait 3 hours, even overnight.

Install Complete
So now you should have a nice web page when you hit DNAC, and can login with the first password, and change it. Hopefully this helps you get through the appliance part of the install process. It should eventually say this
Bonus - watching the command line
If you want to watch the command line make progress, you can. Here’s what it will eventually show, all packages are DEPLOYED.
$ maglev package status

maglev-1 [main - https://kong-frontend.maglev-system.svc.cluster.local:443]

NAME                      DISPLAY_NAME                             DEPLOYED        AVAILABLE       STATUS                    PROGRESS
---------------------------------------------------------------------------------------------------------------------------------------
application-policy        Application Policy                       2.1.23.170130   -               DEPLOYED
assurance                 Assurance - Base                         1.2.6.63        -               DEPLOYED
automation-core           NCP - Services                           2.1.24.60052    -               DEPLOYED
base-provision-core       Automation - Base                        2.1.24.60052    -               DEPLOYED
command-runner            Command Runner                           2.1.24.60052    -               DEPLOYED
device-onboarding         Device Onboarding                        2.1.24.60052    -               DEPLOYED
device-onboarding-ui      Device Onboarding UI                     2.1.23.60287    -               DEPLOYED
dnac-platform             DNAC Platform                            1.0.4.14        -               DEPLOYED
icap-automation           Automation - Intelligent Capture         2.1.24.60052    -               DEPLOYED
image-management          Image Management                         2.1.24.60052    -               DEPLOYED
ncp-system                NCP - Base                               2.1.23.60287    -               DEPLOYED
ndp-base-analytics        Network Data Platform - Base Analytics   1.1.7.590       -               DEPLOYED
ndp-platform              Network Data Platform - Core             1.1.7.765       -               DEPLOYED
ndp-ui                    Network Data Platform - Manager          1.1.7.645       -               DEPLOYED
network-visibility        Network Controller Platform              2.1.24.60052    -               DEPLOYED
path-trace                Path Trace                               2.1.24.60052    -               DEPLOYED
platform-ui               DNAC UI                                  1.2.0.55        -               DEPLOYED
sd-access                 SD Access                                2.1.24.60052    -               DEPLOYED
sensor-assurance          Assurance - Sensor                       1.2.6.76        -               DEPLOYED
sensor-automation         Automation - Sensor                      2.1.24.60052    -               DEPLOYED
system                    System                                   1.1.0.659       -               DEPLOYED


Share this post
Twitter
Facebook
LinkedIn